Recently, I’ve published a blog post on how to set up the Windows Subsystem for Linux version 2 (WSL 2). I’m currently learning Ansible and I was searching for a solution that fits my needs in terms of usability, knowledge, etc. I’ve tested some Linux distributions, tried to connect remotely with my coding tool of choice, Visual Studio Code, but all were complex or didn’t work as expected. That’s the reason I gave WSL 2 a try.
I really like Visual Studio Code. It’s fast, supports a wide range of languages, and it’s free. Yes, free. And you don’t even need a registration nor a login to download it! VSCode also supports a variety of extensions. If it detects that you’re writing something in YAML, it might help you with a pop-up that there is an extension for it, for example, to properly highlight the syntax of that language. And that’s just one great example. With the combination of WSL 2 and VSCode, I’m able to write scripts (or playbooks in Ansible terms) and run them directly in the same tool. How cool is this?
Today, I’m going to show you how you can set up Visual Studio Code to use it with your already installed WSL 2 Linux distribution (at least when you read my previous blog post and followed the guide there).
Install and configure Visual Studio Code
Let’s dive into the setup now. I’m assuming that you’re doing this on the same computer / virtual machine as you installed WSL 2 already.
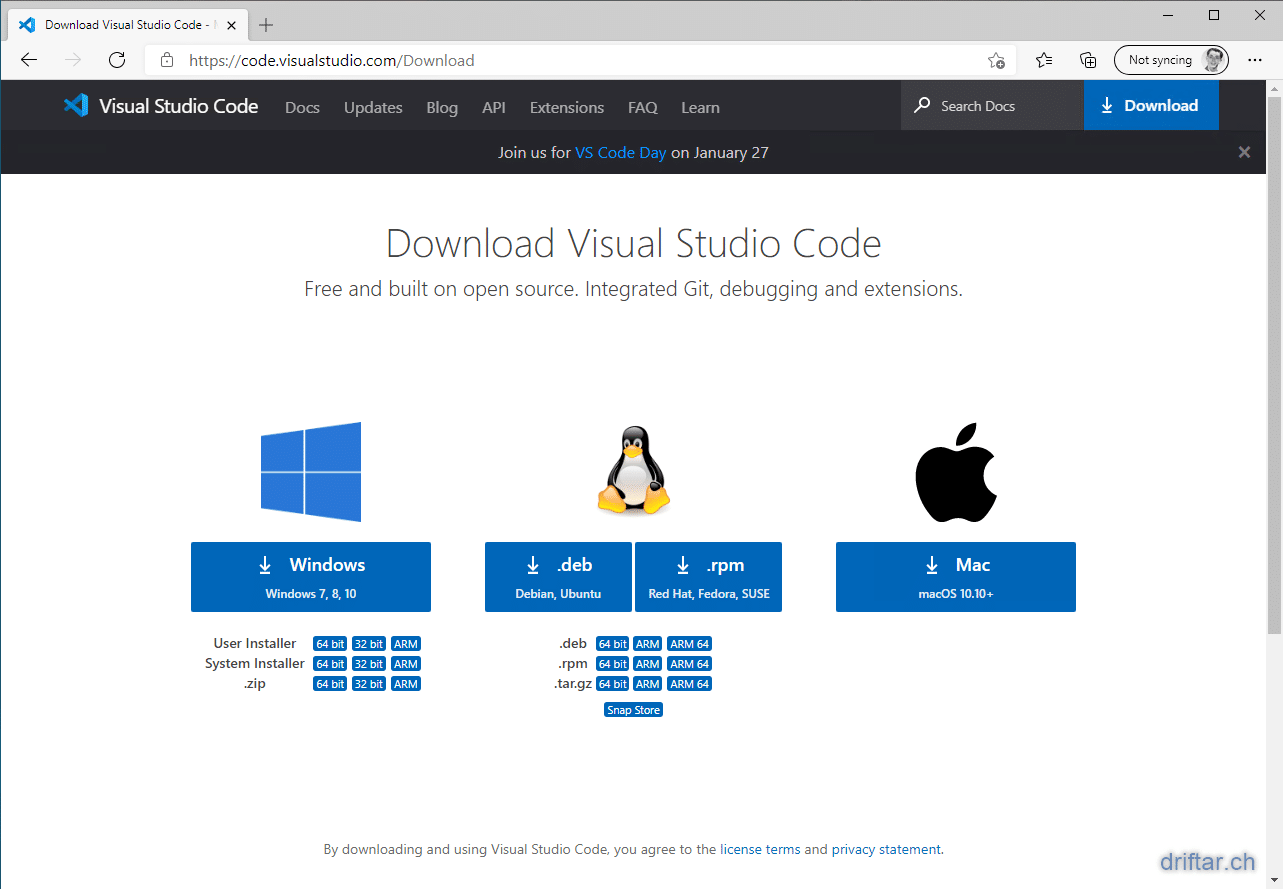
- Download Visual Studio Code either from its official website, or use Chocolatey to install VSCode:
Download Visual Studio Code – Mac, Linux, Windows
Chocolatey Software | Visual Studio Code 1.52.1
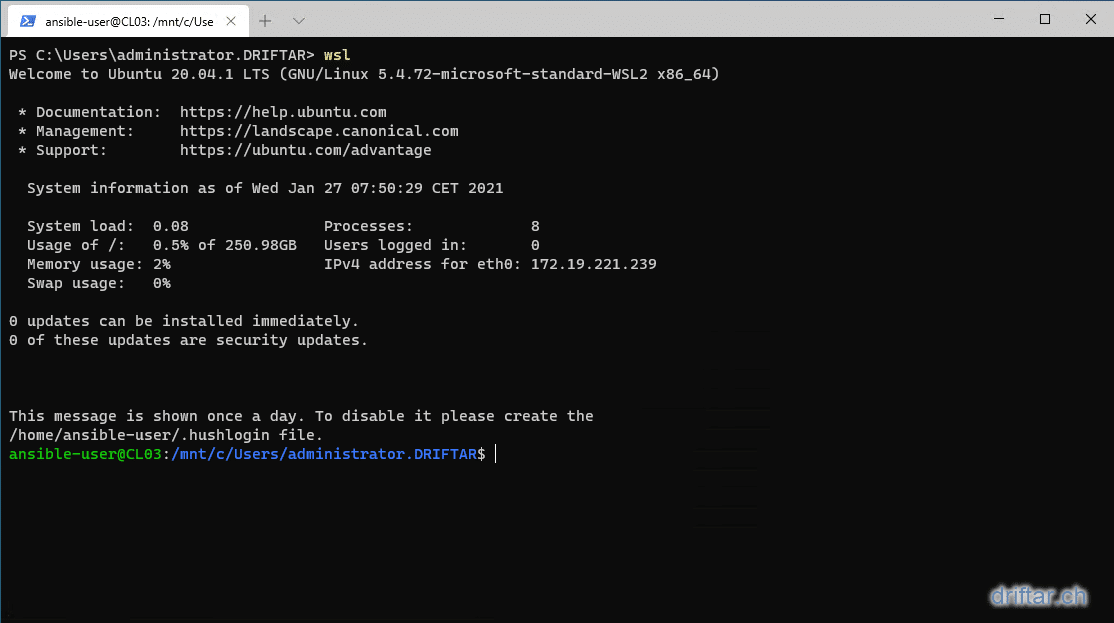
- Open PowerShell / Windows Terminal and execute “
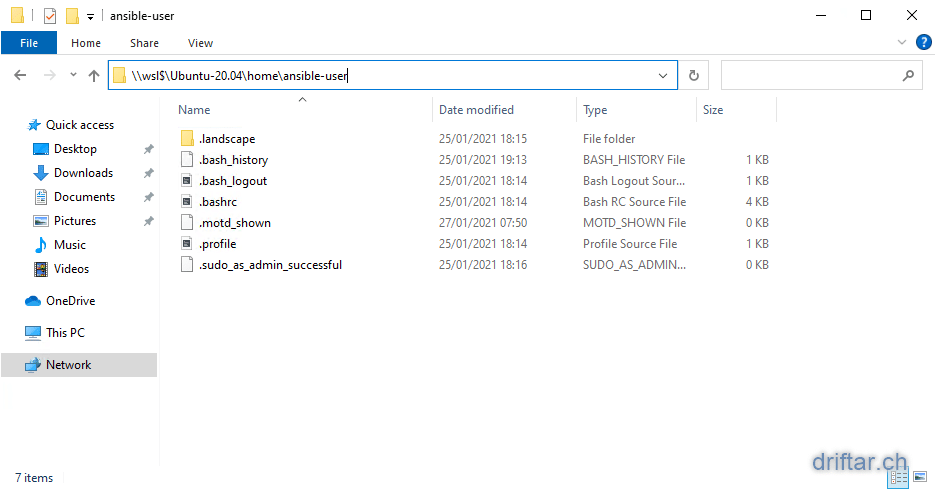
wsl” to start your Linux Distribution. - Open Windows Explorer and navigate to
\wsl$[your_distro]home[your_username].We will just create a folder here within Windows Explorer, where we then put files from VSCode. Let’s call this folder “
ansible“. - Now, start VSCode. You might get asked if you want to install the recommended extensions for WSL. Click “install”.
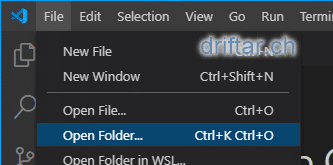
- We’re opening now the WSL folder from step 3 in VSCode.
Click File => Open Folder… and navigate again to the WSL share from above. - For the next step, we’re going to configure the WSL bash (the Linux CLI so to speak).
Click File => Preferences => Settings
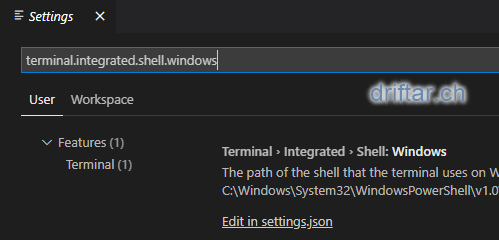
Enter “terminal.integrated.shell.windows” into the search bar, the result should show up automatically.Click “
Edit in settings.json”
If you just did a fresh installation of VSCode, then there should not be much in here. We’re free to change stuff.
Change the code to:{
"terminal.integrated.shell.windows": "C:\Windows\System32\wsl.exe",
"explorer.confirmDragAndDrop": false
}Click File => Save or Ctrl + S to save the change.
- You can now restart VSCode. As soon as it’s open, you should already see the WSL bash in the Terminal window. Isn’t that cool?
- We’re going to use this bash right now to do some very basic settings in Linux.
sudo apt update && sudo apt upgrade -y- one-liner to update the local package repository cache and install the upgrades
sudo apt dist-upgrade- smart conflict resolution that intelligently handles changing dependencies with new versions of packages
sudo apt autoremove- removes non-used packages
- Next, we can install Git. We might use Git in the future to download/clone some code from online repositories, so it’s good to have it already installed.
sudo apt install git -y- At least in my setup, Ubuntu told me that it is already installed. Your mileage may vary.
And did I already mention that it is some pain in the back to create a numbered list in WordPress, which looks nice, and has images included? And I’m still not satisfied yet, dang it!

