A few weeks ago I started getting familiar with Ansible. I’m far away from being an expert, and I’m probably not going so far anyway. But I want to learn some new things and train my skills. One quote which reminds me every day when I try and fail at something:
Even a lesson learned the hard way is a lesson learned.
Before getting deeper into Ansible, I had to find out how I can use Ansible, how I have to set up everything I need to get started. And it wasn’t easy. But I might have found a very convenient way. I’m not a Linux pro, but I know some things, and I’m flexible in learning new things. I have created the following guide for my own documentation, but hopefully, you find it helpful If you’re new to Ansible and you want to find out more like I wanted to do.
And before we dive deep here, I just assume that you already know that Ansible is an automation engine, driven by so-called playbooks. The playbooks contain your code (like for example, the instruction to search updates and install them in a specific Linux VM), which you then run against your infrastructure.
So let’s dive into the topics now. And yes, there are many guides available on the internet, showing you how to set up WSL 2. I’ve checked many of these guides during my initial setup tests etc. Unfortunately, most were not complete, others missed some steps (which means more research and tests needed). This guide has been developed and tested by myself, step by step, to make the setup of WSL 2 as easy as possible for you.
First, setting up WSL 2
But wait, Microsoft and Linux?
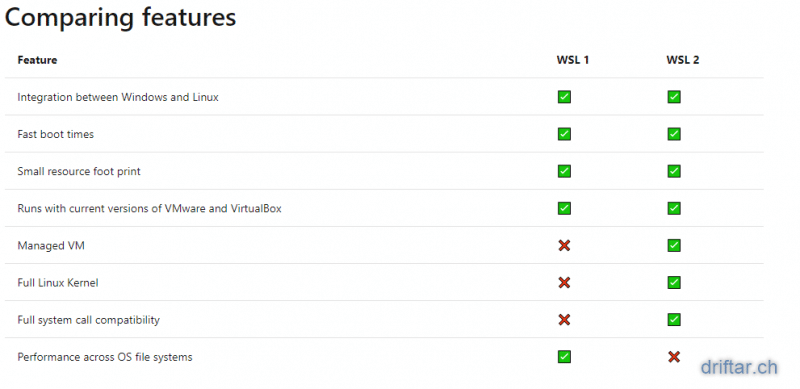
When Microsoft released the Windows Subsystem for Linux, called WSL, people were able to launch a small Linux operating system within Windows and use it through CLI. With version 2 of WSL, Microsoft implemented even more improvements:
- increase file system performance,
- support full system call compatibility.
WSL 2 uses the latest and greatest in virtualization technology to run a Linux kernel inside of a lightweight utility virtual machine (VM). However, WSL 2 is not a traditional VM experience. You can even run WSL 2 within a virtual machine if you have enabled the “Expose hardware assisted virtualization to the guest OS” feature (that’s the feature name in VMware vSphere).
And how do we set up WSL 2 now?
The following steps should help you through the initial setup of WSL 2, and the installation of Ubuntu 20.04 LTS as your Linux distribution of choice. At least I’m going to use Ubuntu because I’m more familiar with that distribution that with others, and since Ubuntu is widely known, many guides are also available for Ubuntu. Win-win, isn’t it?
WSL 2 setup on Windows 10
NOTICE: If you’re going to install WSL 2 on a virtual machine, you need to enable the hardware virtualization feature, for exposing hardware-assisted virtualization to the guest OS.
- Recommended but not needed: the new Windows Terminal, available in the Microsoft Store. Give it a try, you’ll love it!
- Enable WSL 2 (Windows 10 build 19041 or higher required)
- Open an administrative PowerShell / Windows Terminal
- Execute the command “dism.exe /online /enable-feature /featurename:Microsoft-Windows-Subsystem-Linux /all /norestart“
- You can now move on with the next steps
- Enable Virtual Machine feature
- Open an administrative PowerShell / Windows Terminal
- Execute the command “dism.exe /online /enable-feature /featurename:VirtualMachinePlatform /all /norestart“
- Restart your computer now to complete the WSL installation and update to WSL 2.
- Download the Linux kernel update package for WSL 2
- Visit the following website: https://aka.ms/wsl2kernel
- Look for the download link right at the beginning of step 4 at the Microsoft guide.
- Set WSL2 as the default
- Open an administrative PowerShell / Windows Terminal
- Execute the command “wsl.exe –set-default-version 2“
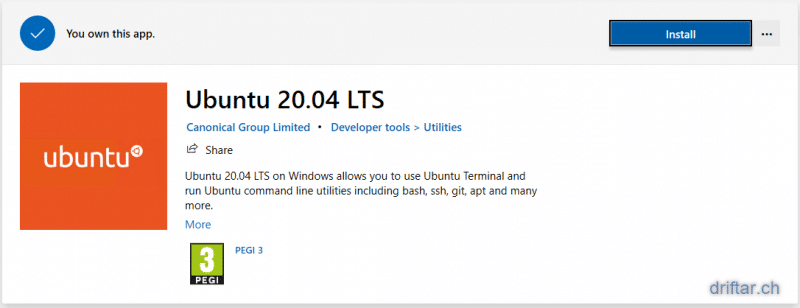
- You can now download your Linux distribution of choice. I will install Ubuntu 20.04 LTS in this guide.
- Open the Microsoft Store app and search for “Ubuntu”
- You have to log in with your Microsoft account to download the software

- You have to log in with your Microsoft account to download the software
- Open the Microsoft Store app and search for “Ubuntu”
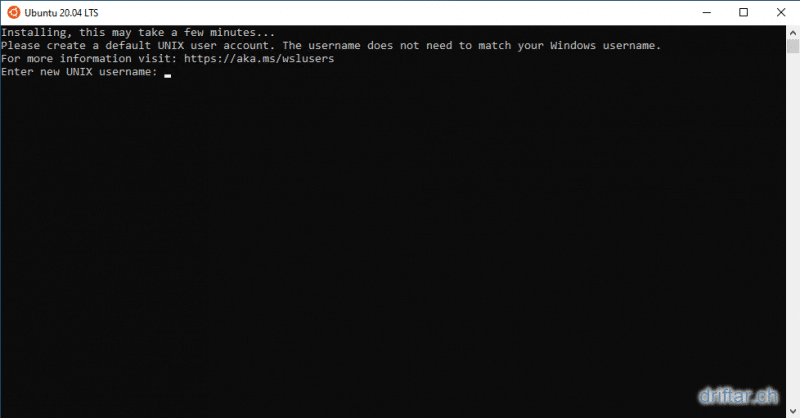
- After downloading your distribution, start it from the Windows start menu to initialize the setup. This may take some minutes.
- You have to enter a new UNIX username and set a password. That’s basically it.

- After this very basic setup, you can close the Ubuntu setup screen.
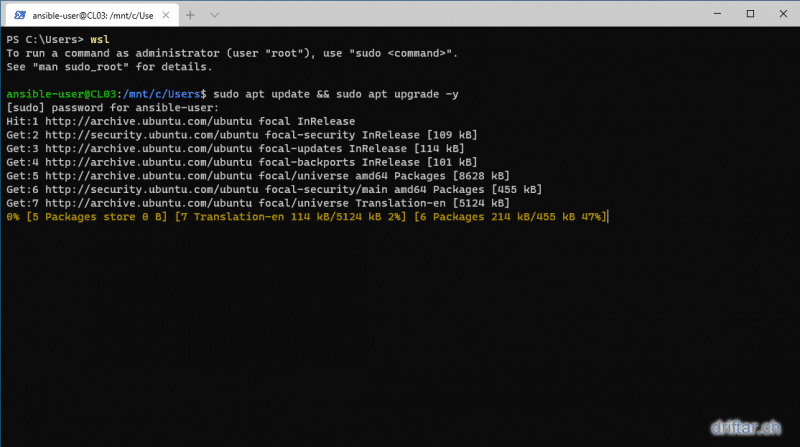
- Start PowerShell / Windows Terminal and execute the command “wsl“. It will instantly launch your distribution.
- To exit WSL, just type “exit” and press enter.
- With Ubuntu, for example, you can use the regular CLI commands to update and upgrade and install packages.
- A one-liner to install the latest Ubuntu updates:
-
- sudo apt update && sudo apt upgrade -y
- This will update the repository cache, download and install updates without any further action, except entering the user password for the sudo action.

-
- To access the filesystem of your distribution, just open Windows Explorer and enter “\wsl$” into the address bar. How cool is that?
- A very handy feature, especially when you’re going to set up Visual Studio Code to use with Ansible. Oh wait, we’re going to do that somewhere in the next steps.
But that’s it for now! Stay tuned for the next blog post on how to set up the newly installed WSL 2 Ubuntu for using it with Ansible. We will figure out the basic requirements and install the necessary packages. We will also set up Visual Studio Code and make use of the Windows Explorer access to the WSL filesystem. Maybe we also run our first playbook, who knows 😉
Unfortunately, it seems that MS no longer supports WSL2 on WindowsServer 2022 (v21H2) any more. See that thread: https://github.com/microsoft/WSL/issues/6301#issuecomment-858816891 That would be very disappointing!
It seems that WSL2 is not only not available / supported on Windows Server 2022, but on none of the Windows Server versions. They are only supporting WSL, when I read that post correct: https://github.com/microsoft/WSL/issues/6301#issuecomment-858816891